
Ceramic Coatings
- Home
- Services
- Ceramic Coatings
What is a Ceramic Coating?
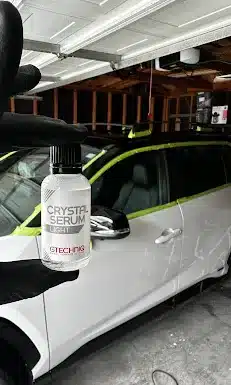
Ceramic Coatings are the pinnacle of paint protection. This extra layer of protection is one of the best ways to keep that like-new feeling for your car. The coating is like a shell around your car that offers a variety of benefits and long-term protection.
Ceramic Coatings require a lot of prep work but once done and applied the paint is left with a show car-like finish leaving. At Automotive Aptitude we specialize in the application of ceramic coatings and everything involved.
0
Year
Coating
0
Year
Coating
0
Year
Coating
Interior
Every Ceramic Coating job comes with a standard interior detail.
Your Interior Detail
A good vacuum removes a lot of the dirt and dusts all around the car. Spots that are touched a lot like the steering wheel or center console will receive a cleaning. The vast majority of the time the steering wheel, center console, and gear shifter are the dirtiest part of the car. A lot of time is spent there to get the perfect finish. Whether your steering wheel is plastic, rubber, leather, or Alcantara the steering wheel will be cleaned up.
This is what separates us often many other places vacuum once over. As Auto detailing professionals will spend time getting it right. It will be removed whether it means bending and twisting to get the right angle on the right piece of dirt. More often than not steering wheels will be the dirtiest.
After all said and done the interior will be brought to a like-new feeling that will change your experience.
Decontamination
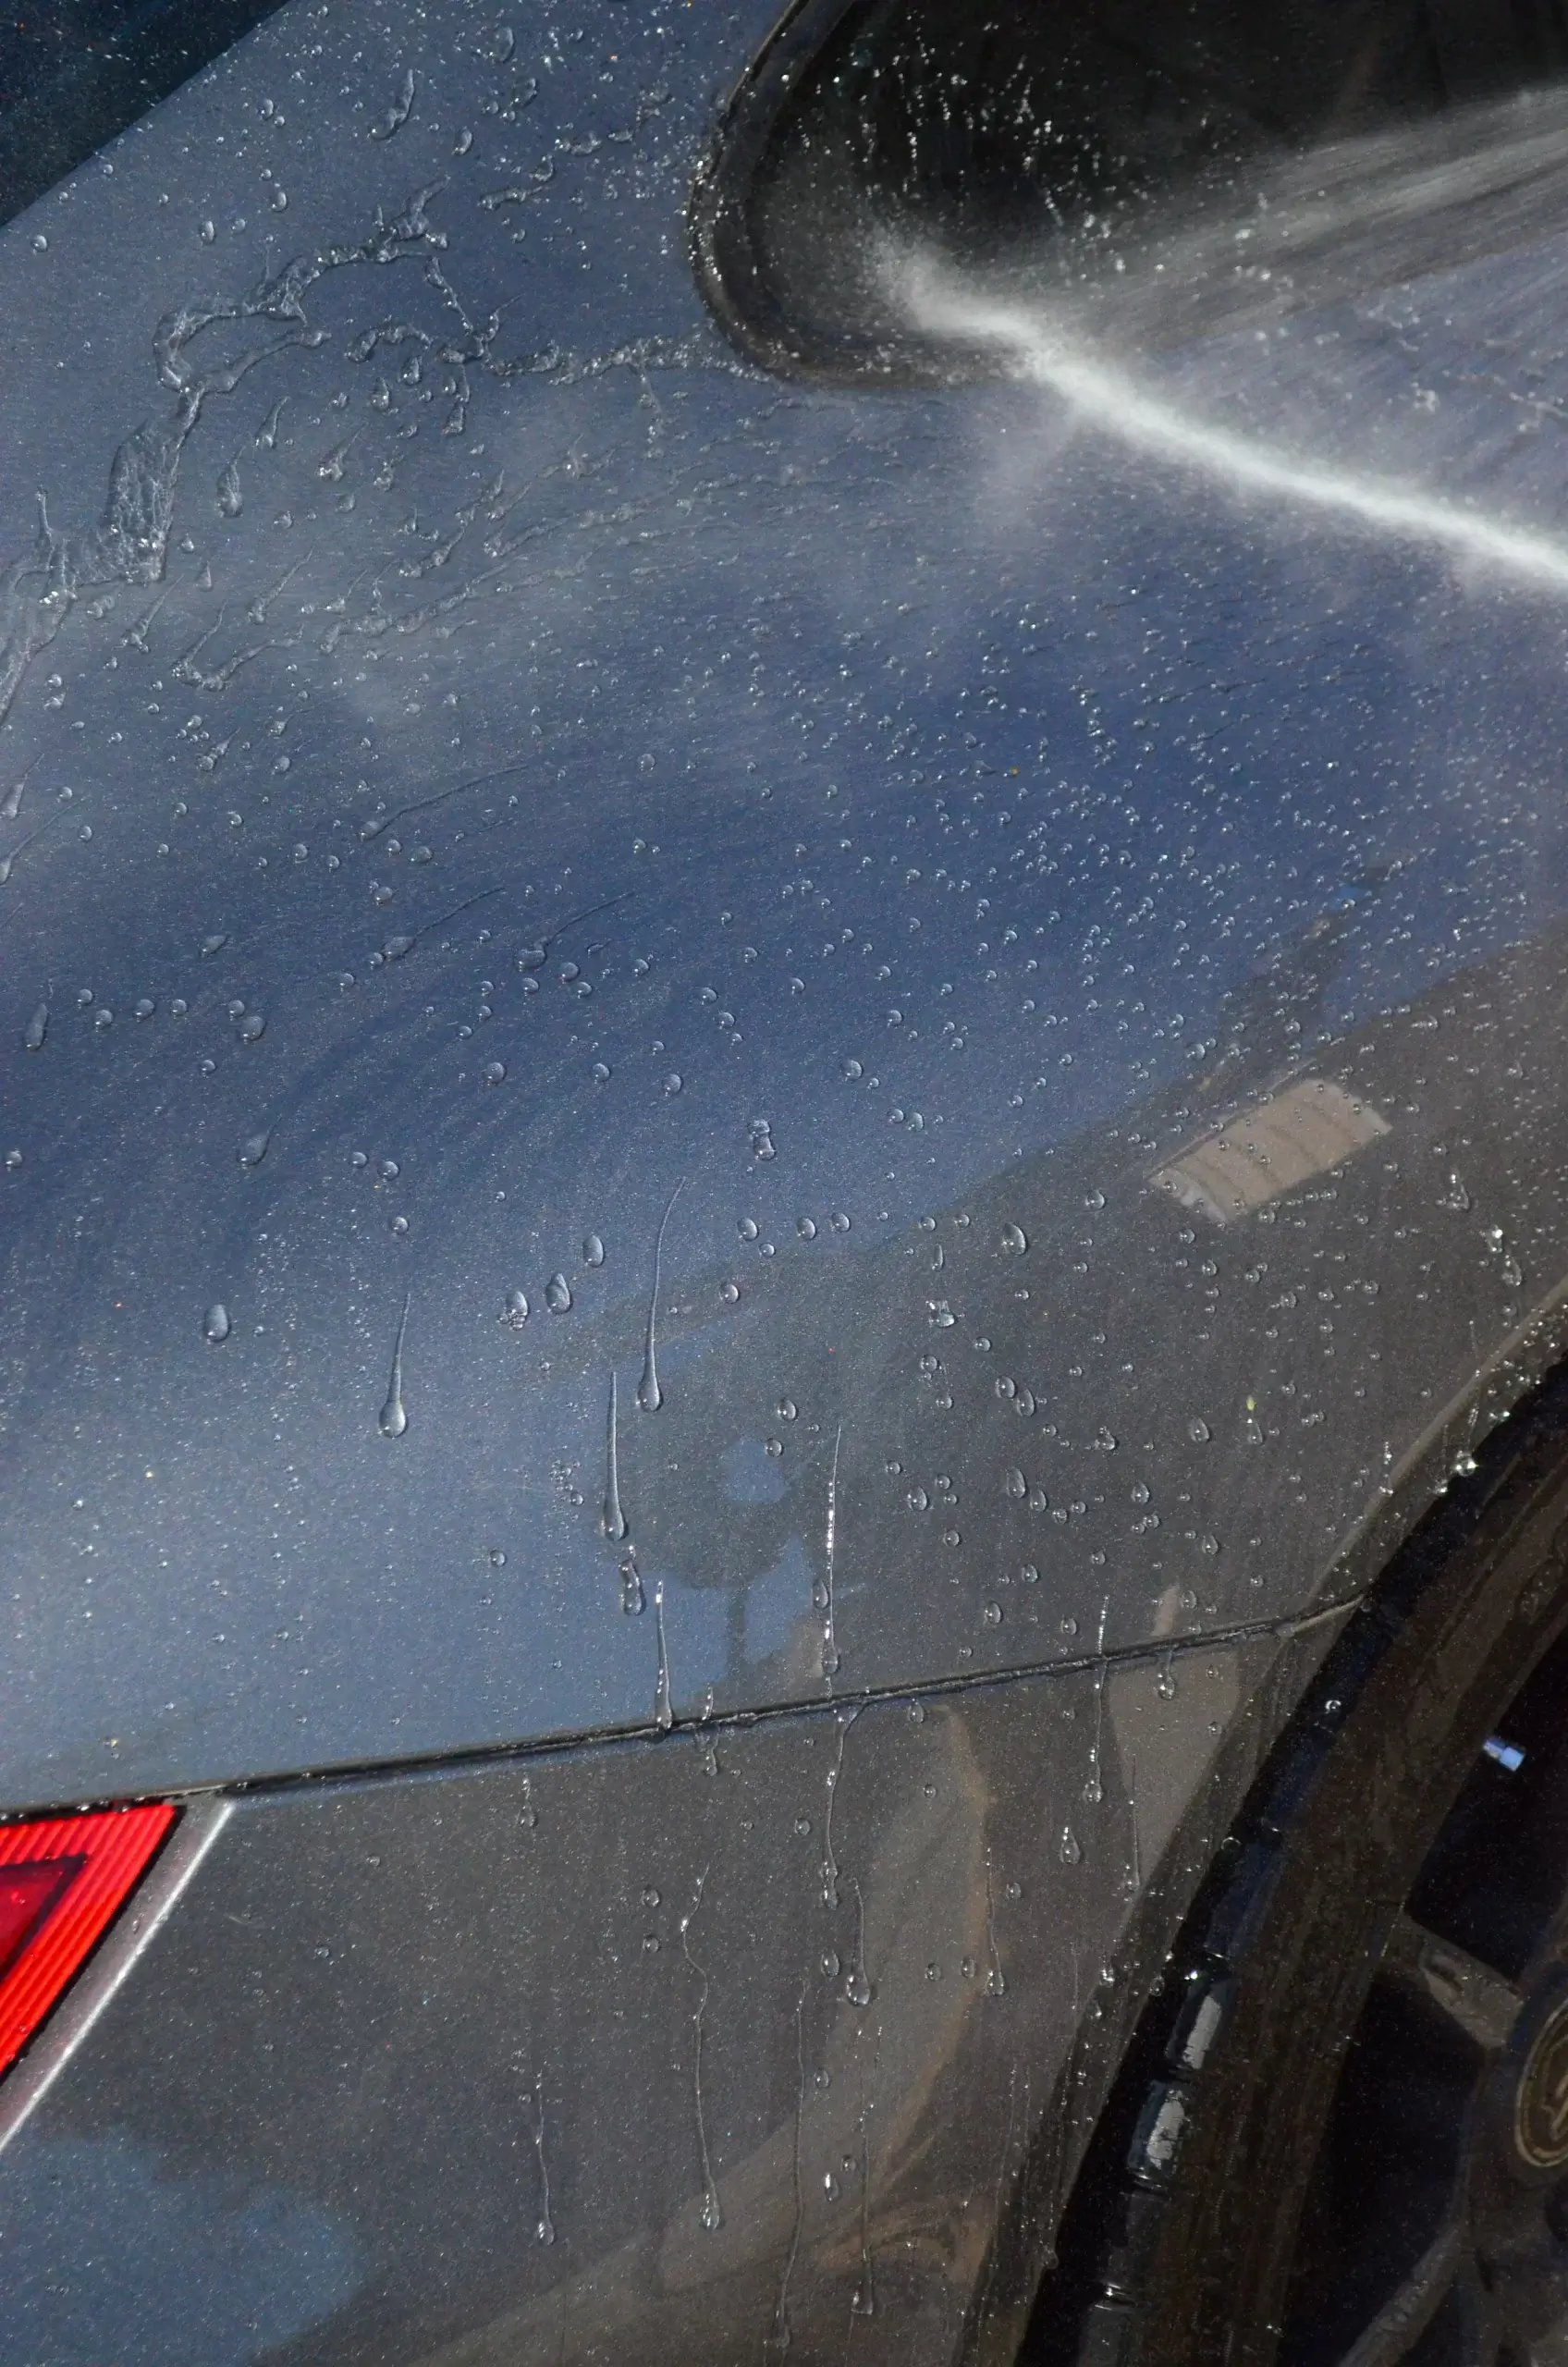
First Wash
One of the preparatory steps for paint correcting and application of a ceramic coating is to decontaminate the vehicle.
As noted in the Clay n’ Seal Package a good decontamination process always starts with the wheels. This is to ensure we clean the dirtiest part of the vehicle.
Next up in the process is a two-bucket wash. This includes a full foam bath and washes down. After an Iron fallout remover, the clay bar is next. We then dry the car and begin the paint correction process.
Iron Fallout Remover
First in the process is Chemical decontamination. Spraying Iron fallout remover will remove a lot of embedded contaminants.
Using Iron fallout remover will remove a lot of the surface-level contaminants.
Clay Bar
After the iron fallout remover, any left over contaminants needs to be removed to ensure a proper paint correction.
The clay bar will remove any leftover contaminants and leave a clean surface.
Paint Correction
Prep stages
Next up is to prepare the paint and other parts of the surfaces for correction. This all starts with taping off the trim, glass, and any other material that we don’t want to polish. This is important to protect our polishing pads and the car trim.
After that, the next step is to use different compounds and polishes to find a mix of pads and correcting paste to find the perfect process to attain the perfect paint. We have a page dedicated to paint correction.
Compounding Stage
Compounding is the stage of paint correction that reduces the larger defects in the paint. After removing the larger scratches and defects in the paint a slight haze is left behind.
Polishing Stage
Once the paint is free of deeper scratches and left with a haze the next step is to reintroduce gloss and clarity.
Polishing is the final step before the application of the coating. With both steps done that leaves the paint primed for the application of the coating.
Priming the surface
After the paint correction process, it is important to make sure a clean surface is established to allow for a proper application of the coating.
Using a mixture of isopropyl alcohol and distilled water to completely clean and prepare the surface for coating.
Coating Application
Application
When applying a ceramic coating, maintaining a clean work environment is of utmost importance. With that being said, laying the coating begins at the top of the car to reduce the chance of mistakes.
Now that we have a starting point our next step is to apply the ceramic coating to an applicator and begin to work it in. Starting with a criss-cross pattern to ensure the coating is worked into the paint and reduce the chances of high spots.
Leveling it out
Now that the coat has had time to seep into the paint we give prepare our microfiber towel to remove all the streaks and high spots. This is important to leave a smooth clean finish across the paint.
We do this by waiting for the coating to “flash” by turning to a rainbow-type tint and wiping it off with a brand-new microfiber cloth.
What Affects Pricing?
How many stages of paint correction?
One polishing stage may take up to two hours. Depending on the level of finish or correction needed the price may vary.
Coating longevity
The coating longevity will be a big factor in price. Depending on how long the coating is expected to last the more expensive it will become.